Localization
In nopCommerce, your store can have several languages installed. However, the customers will only see the data that has been defined in their selected language.
Tip
By default, the English language is installed.
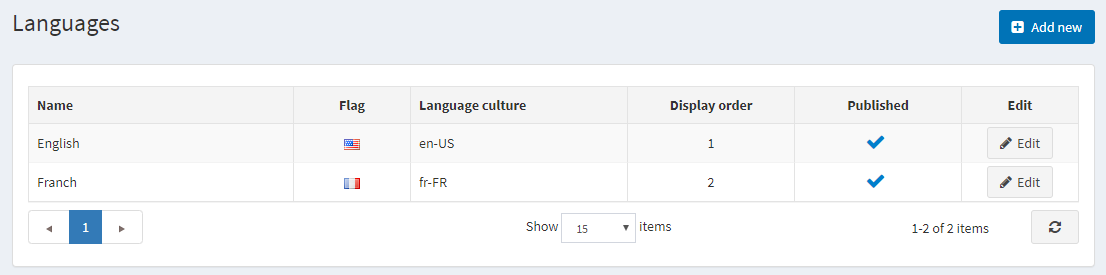
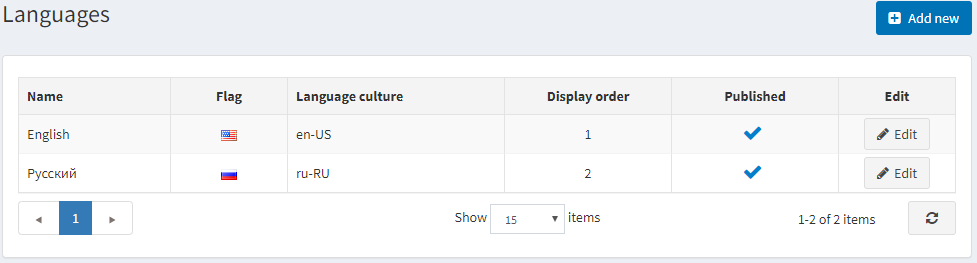
To see or edit the installed languages go to Configuration → Languages:
Note
You can download new language packs from the official Marketplace.
Adding new language
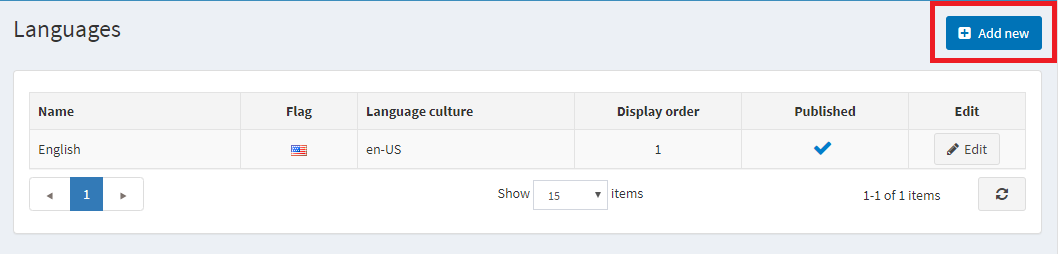
To add a new language click Add new. In the Add a new language window, define the following settings:
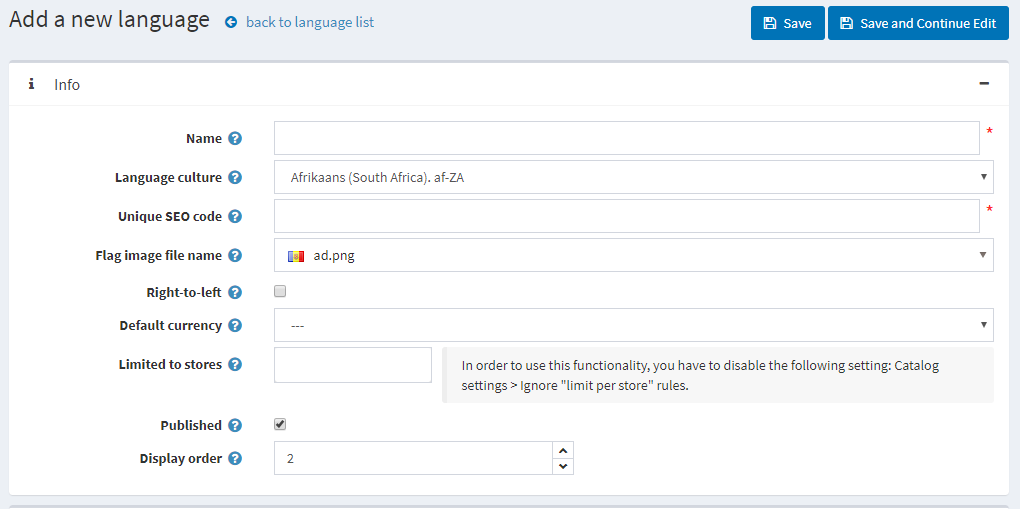
The Name of the new language.
The Language culture - a specific language code (for example, de-AT for Austrian German).
The Unique SEO code - a two letter language SEO code used to generate URLs like
http://www.yourstore.com/en/when you have more than one published language.Note
The SEO friendly URLs with multiple languages option should be enabled in the Configuration → Settings → General settings → Localization settings panel.
The Flag image file name - enter the flag image file name. The image should be saved under the
…/images/flagsdirectory. You can also choose an image from a predefined list.Tick Right-to-Left if needed (for example, for Arabic, Hebrew, etc).
Note
The active theme should support RTL (have an appropriate CSS style file). This option affects only the public store.
The Default currency for a specific language. If not specified, then the first found one (with the lowest display order) will be used.
Limited to stores option allowing to set this language for a specific store(s). You can choose the store(s) from a pre-created list. Leave this field empty if you don't use this option.
Note
To use store limitaton the Ignore "limit per store" rules (sitewide) option should be disabled in the Configuration → Settings → Catalog settings → Performance panel.
Publish the language, to enable this language to be visible and selected by visitors in your store.
Display order of the language. 1 represents the top of the list.
Click Save to save the changes.
Note
After adding a new language, you will be able to import and export string resources using the Import resources and Export resources buttons in the top of the page. The String resources panel from the language edit page will allow you to see the existing language resources and add new ones manually.
Import language pack
If you wish to add a new language to your store, you should:
Visit nopCommerce translations page.
Choose nopCommerce version and download the desired language pack.
Go to Configuration → Languages and press AddNew button.
Fill in the required fields and click Save and continue edit.
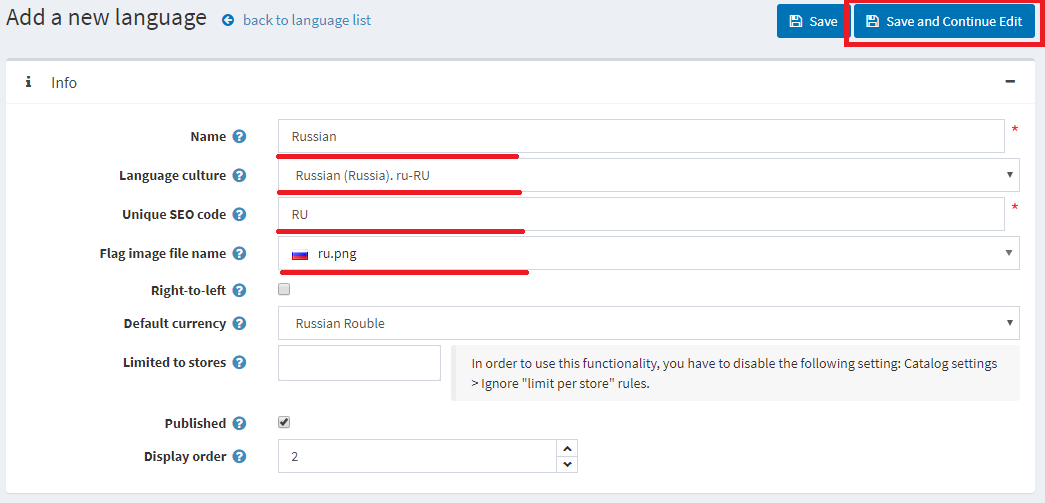
Click Import resources. And specify the path to the language pack file (*.xml) that you downloaded.

If you found a mistake in translation or wish to have custom naming, you can edit the string resources in the String resources panel.
Manage string resources
Go to Configuration → Languages. The Languages window is displayed:
Click the Edit button beside the language. In the Edit language details window, find the String resources panel.
For example, you want to change the name of a panel on top of the page from "Administration" (on the picture below) to "Control panel".

In the Resource name field, enter "administration". The required string resource if found. Click Edit beside it.
Enter the new name in the Value field and click Update.

The changes are implemented

To add a new string resource use the Add new record panel. This window enabling you to add a new resource record to the grid, as follows:
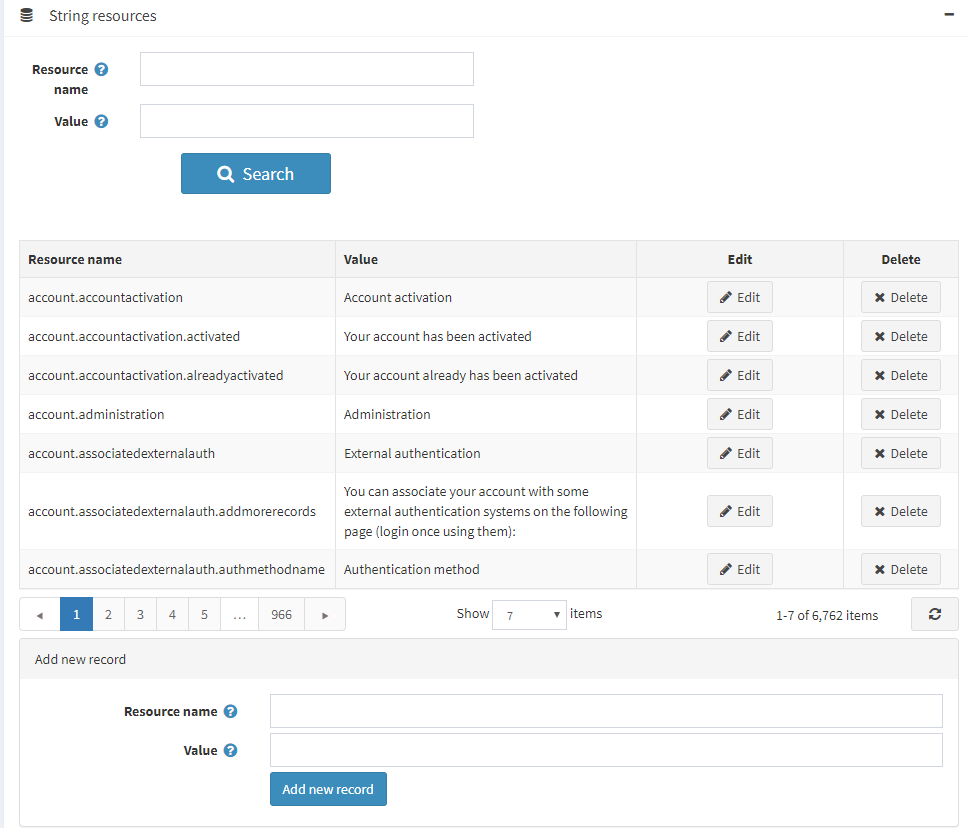
- In the Resource name field, enter the resource string identifier.
- In the Value field, enter a value for this resource string identifier.
Click Save.
Localization settings
To configure localization settings go to Configuration → Settings → General settings:
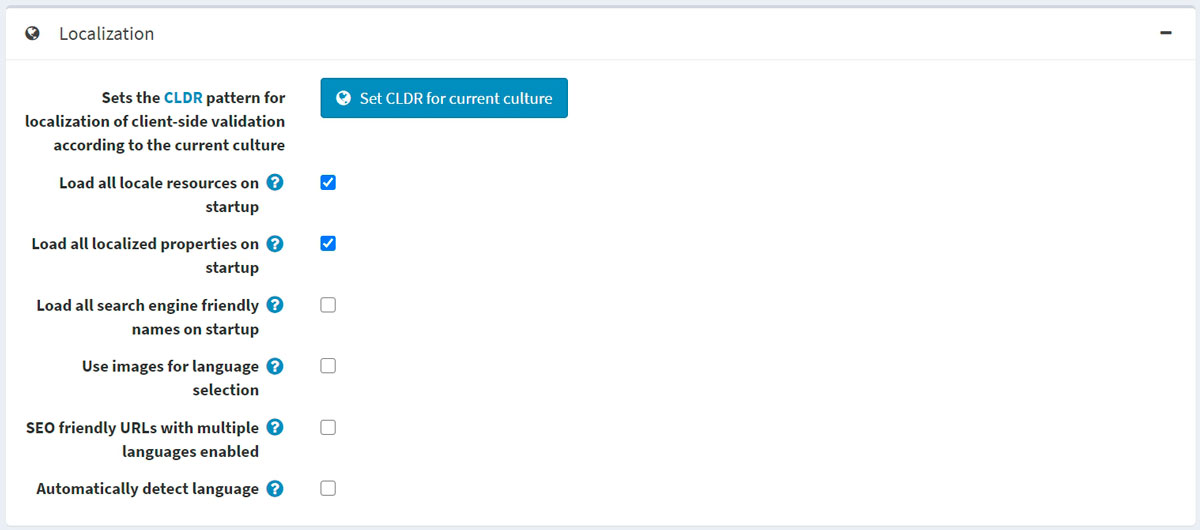
- To sets the CLDR pattern for localization of client-side validation according to the current culture click the Set CLDR for current culture button.
- Tick the checkbox Load all locale resources on startup to load all local resources on application startup. When enabled, all locale resources will be loaded on application startup. The application start will be slower, but then all pages could be opened much faster.
- Tick the checkbox Load all localized properties on startup to load all localized properties on application startup. When enabled, all localized properties (such as localized product properties) will be loaded on application startup. The application start will be slower, but then all pages could be opened much faster. It's used only when you have two or more languages enabled. Not recommended to enable when you have a large catalog (several thousand localized entities).
- Tick the checkbox Load all search engine friendly names on startup to load all search engine friendly names on application startup. When enabled, all slugs (search engine friendly names) will be loaded on application startup. The application start will be slower, but then all pages could be opened much faster. Not recommended to enable when you have a large catalog (several thousand entities).
- Tick the checkbox Use images for language selection to use images instead of language names.
- Tick the checkbox SEO friendly URLs with multiple languages enabled to allow SEO friendly URLs for all languages. When enabled, your URLs will be
http://www.yourStore.com/en/orhttp://www.yourStore.com/ru/(SEO friendly). - Tick the checkbox Automatically detect language for detecting language based on customer browser settings.
Localize entities
If you have more than one language installed in your store you will be able to enter some fields which are displayed to customers in different languages. For example:
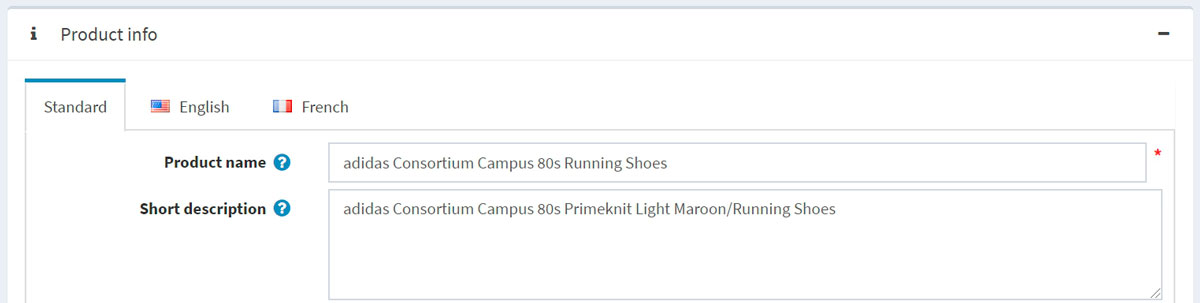
- In the Standard tab enter the text which will be displayed to customers if the localized fields are not specified.
- In the tabs with language names enter the localized text.