Installing on Linux
This chapter describes how to install the nopCommerce software on Linux system on the example of XUbuntu 20.04:
- Install and configure software
- Get nopCommerce
- Create and configure the nopCommerce Web service
- Troubleshooting
Install and configure software
Before installing .NET Core, we'll need to register the Microsoft key and install required dependencies. This needs to be done once per machine.
Register Microsoft key and feed
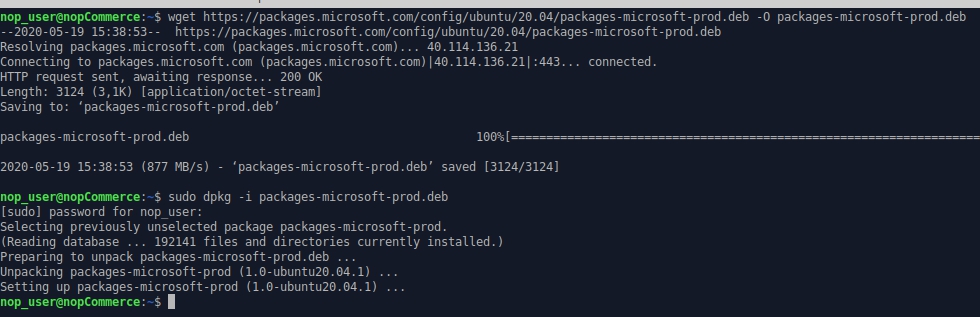
Open a terminal and run the following commands:
wget https://packages.microsoft.com/config/ubuntu/20.04/packages-microsoft-prod.deb -O packages-microsoft-prod.deb
sudo dpkg -i packages-microsoft-prod.deb
Install the .NET Core Runtime
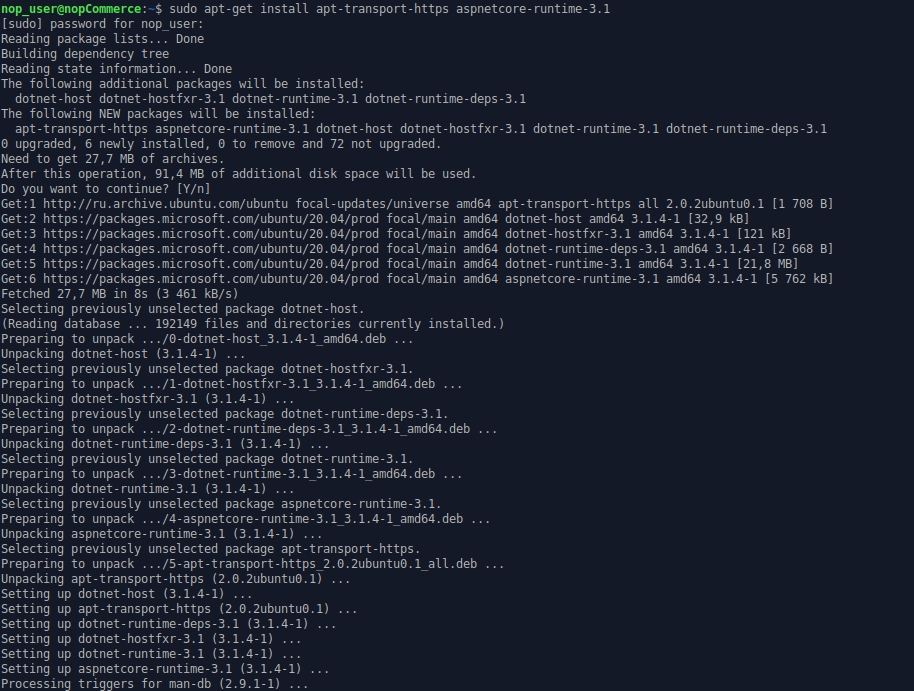
Update the products available for installation, then install the .NET runtime:
sudo apt-get update
sudo apt-get install apt-transport-https aspnetcore-runtime-3.1
Note
If you have any error see detail information on the https://docs.microsoft.com/en-us/dotnet/core/install/linux-package-manager-ubuntu-2004#troubleshoot-the-package-manager page.
You may see all installed .Net Core runtimes by the following command:
dotnet --list-runtimes

Install MySql Server
Install the MySql server 8.0 version
sudo apt-get install mysql-server

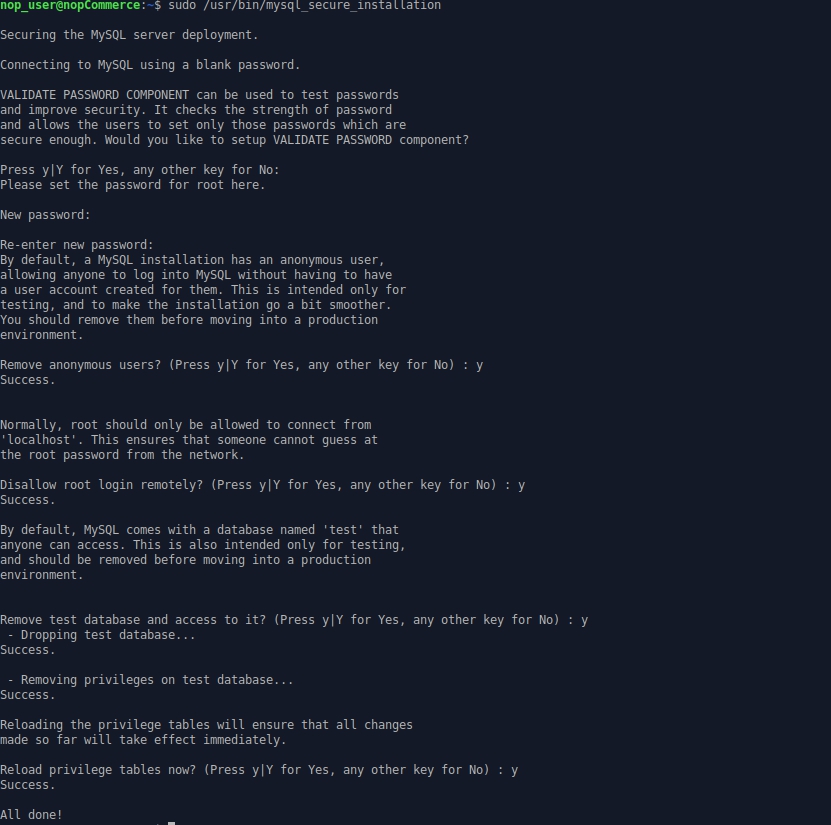
By default, the root password is empty, let's set it
sudo /usr/bin/mysql_secure_installation
Note
If you have some problem with configuring root password on your MySql server please read the following articles: https://dev.mysql.com/doc/refman/8.0/en/resetting-permissions.html and https://stackoverflow.com/questions/41645309/mysql-error-access-denied-for-user-rootlocalhost.
Install nginx
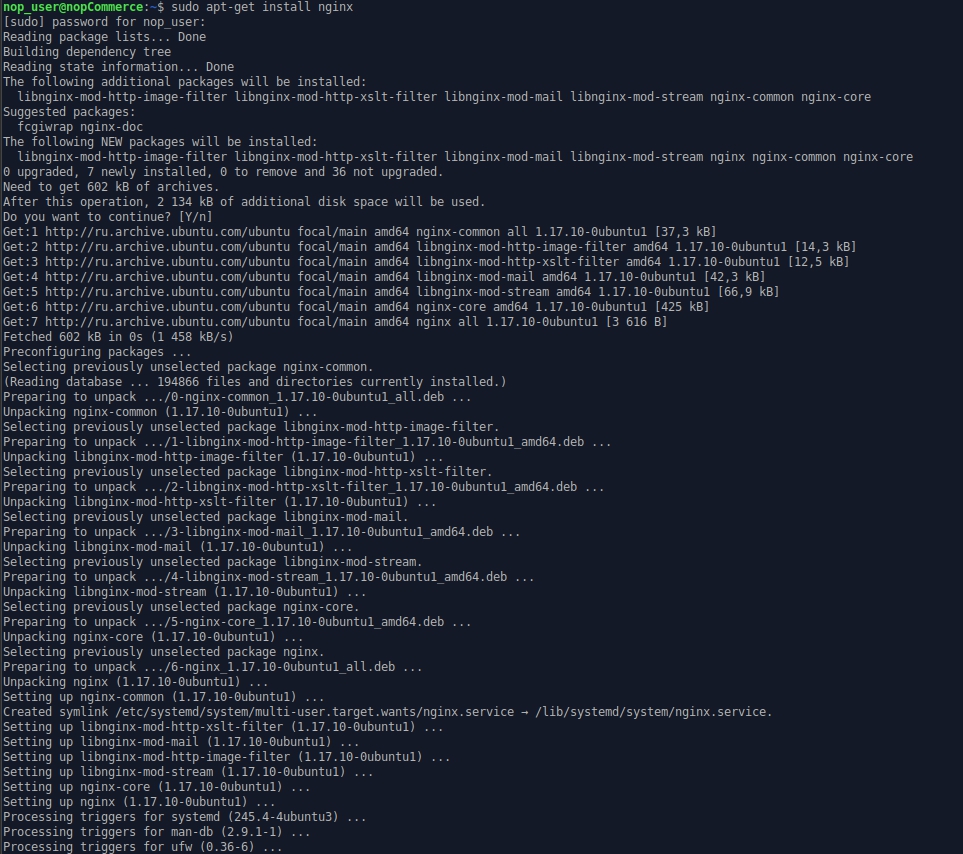
Install the nginx package:
sudo apt-get install nginx
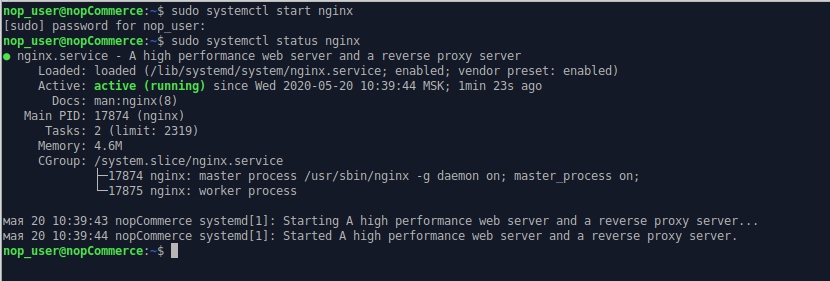
Run the nginx service:
sudo systemctl start nginx
and check its status:
sudo systemctl status nginx
To configure nginx as a reverse proxy to forward requests to your ASP.NET Core app, modify /etc/nginx/sites-available/default. Open it in a text editor and replace the contents with the following:
# Default server configuration
#
server {
    listen 80 default_server;
    listen [::]:80 default_server;

    server_name   nopCommerce-430.com;

    location / {
    proxy_pass         http://localhost:5000;
    proxy_http_version 1.1;
    proxy_set_header   Upgrade $http_upgrade;
    proxy_set_header   Connection keep-alive;
    proxy_set_header   Host $host;
    proxy_cache_bypass $http_upgrade;
    proxy_set_header   X-Forwarded-For $proxy_add_x_forwarded_for;
    proxy_set_header   X-Forwarded-Proto $scheme;
    }

    # SSL configuration
    #
    # listen 443 ssl default_server;
    # listen [::]:443 ssl default_server;
    #
    # Note: You should disable gzip for SSL traffic.
    # See: https://bugs.debian.org/773332
    #
    # Read up on ssl_ciphers to ensure a secure configuration.
    # See: https://bugs.debian.org/765782
    #
    # Self signed certs generated by the ssl-cert package
    # Don't use them in a production server!
    #
    # include snippets/snakeoil.conf;
}
Get nopCommerce
Create a directory
mkdir /var/www/nopCommerce430
Download and unpack the nopCommerce:
cd /var/www/nopCommerce430
sudo wget https://github.com/nopSolutions/nopCommerce/releases/download/release-4.30/nopCommerce_4.30_NoSource_linux_x64.zip
sudo apt-get install unzip
sudo unzip nopCommerce_4.30_NoSource_linux_x64.zip
Create couple directories to run nopCommerce:
sudo mkdir bin
sudo mkdir logs
Change the file permissions
cd ..
sudo chgrp -R www-data nopCommerce430/
sudo chown -R www-data nopCommerce430/
Create the nopCommerce service
Create the /etc/systemd/system/nopCommerce430.service file with the following contents:
[Unit]
Description=Example nopCommerce app running on XUbuntu

[Service]
WorkingDirectory=/var/www/nopCommerce430
ExecStart=/usr/bin/dotnet /var/www/nopCommerce430/Nop.Web.dll
Restart=always
# Restart service after 10 seconds if the dotnet service crashes:
RestartSec=10
KillSignal=SIGINT
SyslogIdentifier=nopCommerce430-example
User=www-data
Environment=ASPNETCORE_ENVIRONMENT=Production
Environment=DOTNET_PRINT_TELEMETRY_MESSAGE=false

[Install]
WantedBy=multi-user.target
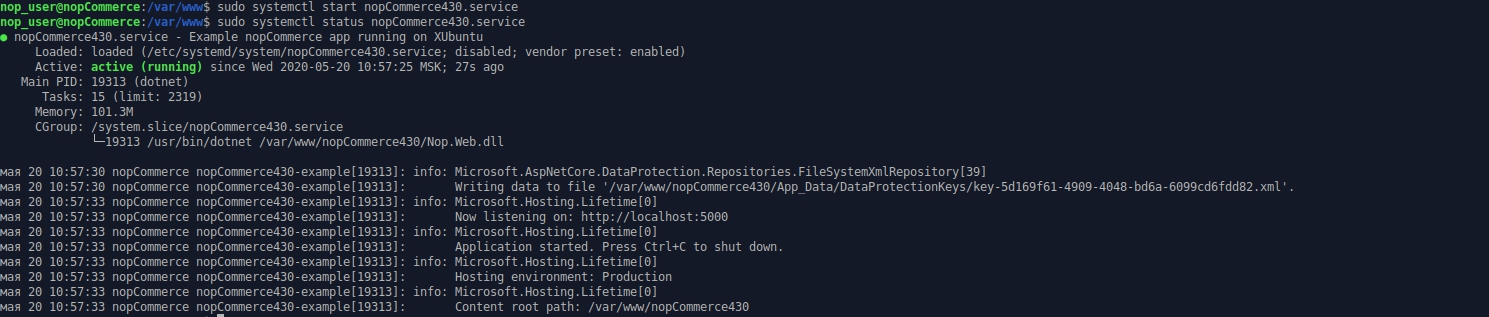
Start the service
sudo systemctl start nopCommerce430.service
Check the nopCommerce service status
sudo systemctl status nopCommerce430.service
Restart the nginx server
sudo systemctl restart nginx
Now everything is ready, you can proceed to install and configure the store
Troubleshooting
Gdip
If you have a problem with loading images in the RichText Box (The type initializer for 'Gdip' threw an exception) just install the libgdiplus library:
sudo apt-get install libgdiplus
SSL
If you want to use SSL on your site don't forget set to true the UseHttpXForwardedProto setting in the appsettings.json file.