Message templates
Message templates define the layout, content, and formatting of automated messages sent from your store. They are called transactional emails because each one is associated with a specific type of transaction.
There are several message templates available in nopCommerce by default to notify users about order statuses and so on. To access message templates go to Content management → Message templates.
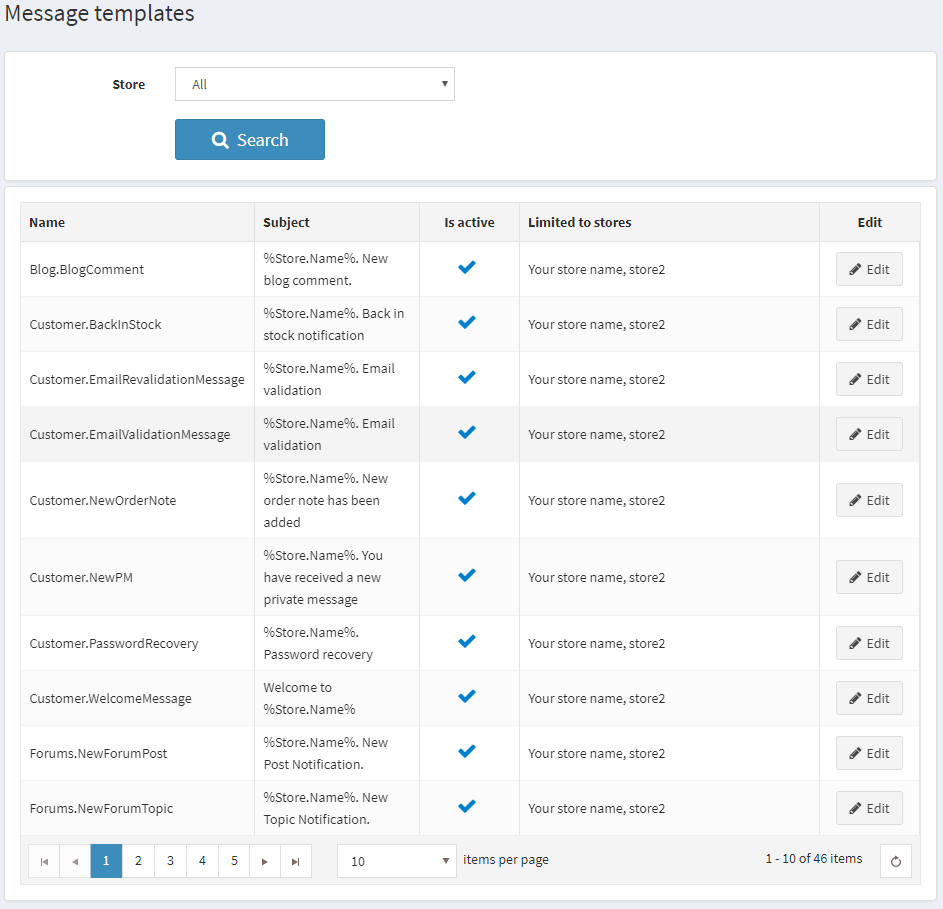
To search for message templates that were used in a certain store, select a name of the store from the list.
Edit a message template
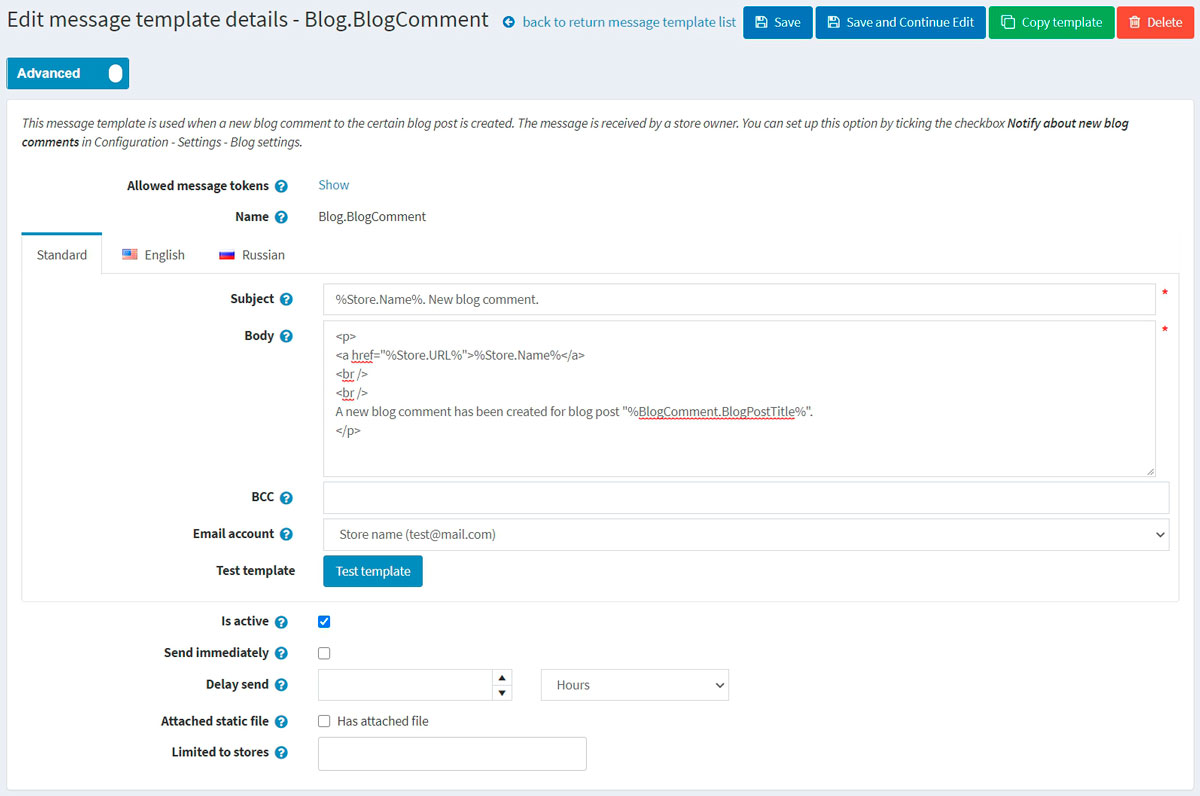
Find the message template you want to edit and click Edit. The Edit message template details window is displayed, as follows:
If you have more than one language installed select the required language tab.
Tip
By default, only English language is used in the system. You can manage languages in Configuration → Language. Read more about languages in nopCommerce in the Localization section.
Edit the message template details as follows:
- Edit the Subject of the message. You can include tokens in the subject. You can see the list with all the tokens allowed at the top of the page.
- Edit the Body of the message.
- In the BCC field, enter the blind copy recipients of this email message if needed.
- From the Email account dropdown list, select the email account used to send this message template.
- You can test this message template by clicking the Test template button. When clicked the Send test email is displayed, as follows:
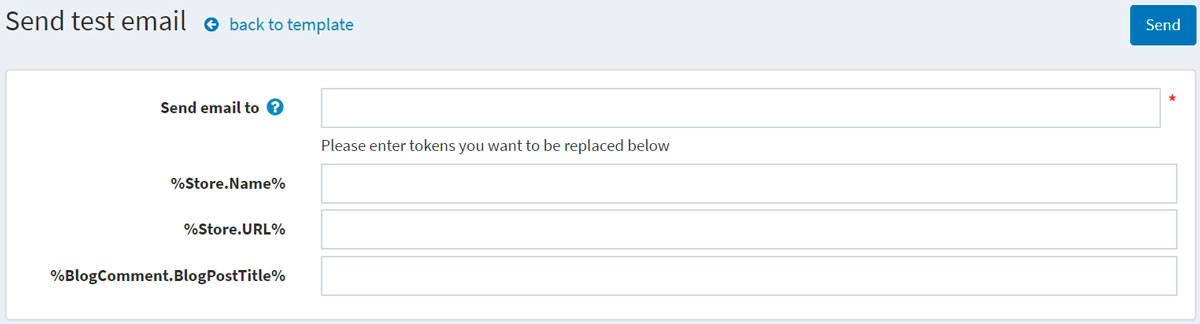 Enter your email in the Send email to field, fill the tokens with some test values then click the Send button.
Tip
Email accounts are configured in Configuration → Email accounts. Read more about it in the Emails accounts section.
- Select the Is active option to indicate this message should be sent.
- Tick the Send immediately checkbox if you want this email to sent immediately.
- If the previous checkbox is unticked the Delay send field is displayed.
- Select the Attached static file checkbox, to upload a file which will be attached to each sent email.
- Choose the stores in the Limited to stores field if the category is sold in specific stores. Leave the field empty in case this functionality is not required.
Note
In order to use this functionality, you have to disable the following setting: Catalog settings → Ignore "limit per store" rules (sitewide). Read more about multi-store functionality here.
Click Save.
Note
To create a full copy of the message template, click Copy template in the top right. This is useful if you have several stores configured and want to create distinct templates for each of your stores.